This comprehensive guide will take you through the setup process for your Tangem Wallet 2.0 Cryptocurrency hardware wallet.
Setup time: Less than 5 minutes.
Setup difficulty: Beginner friendly.
Overview:
- Initial pre-setup checks
- Installing the Tangem Wallet App
- Device setup
- Private key generation
- Creating backups
- Pin protection
- Adding new coins to the wallet
- Transaction testing
1) Initial pre-setup checks
Before starting the setup process, ensure you have the neccessary items to complete the setup of your wallet.
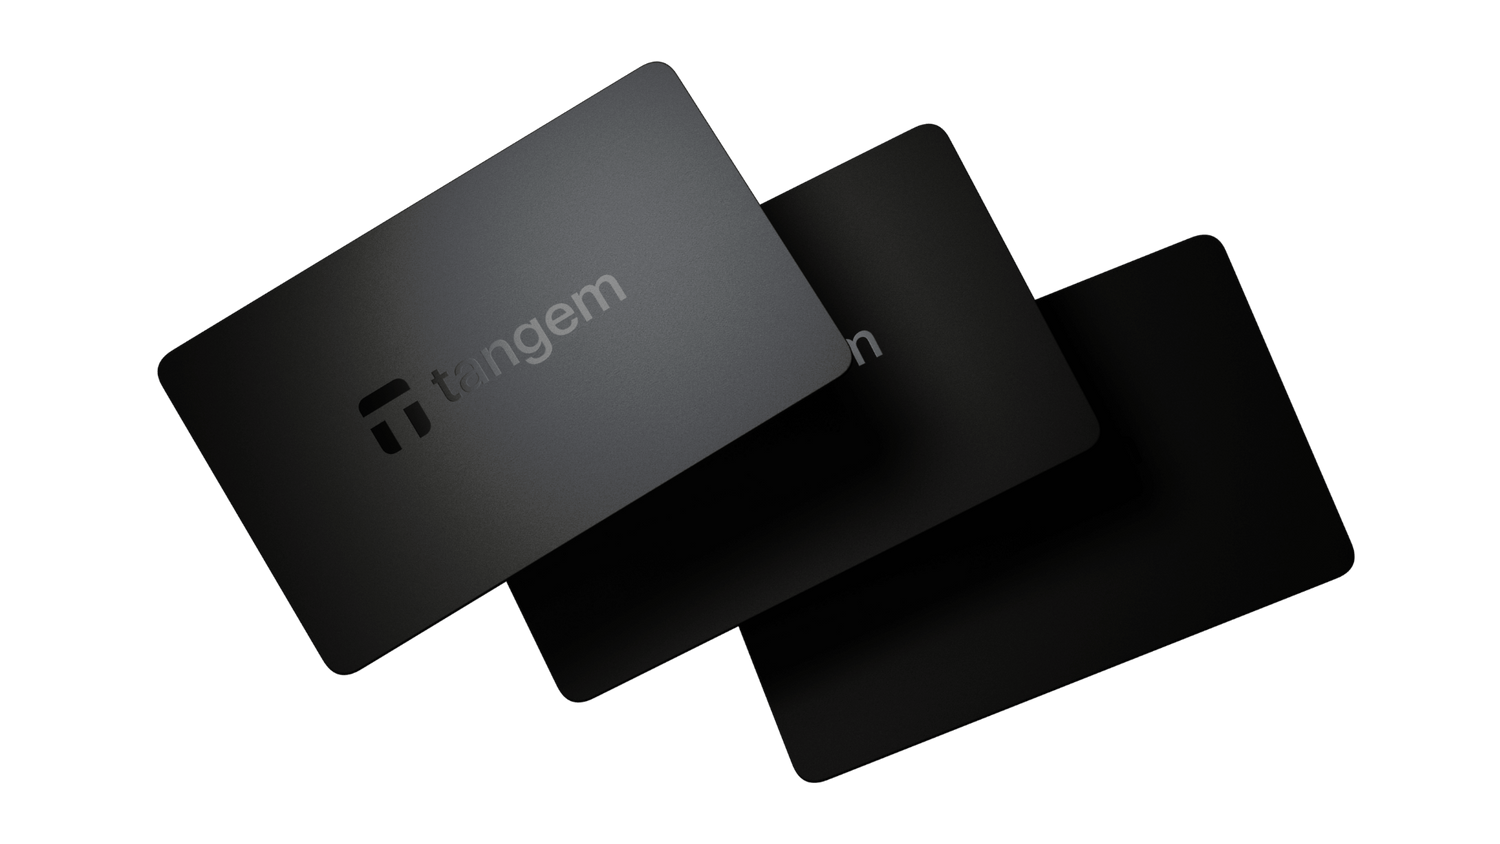
The Tangem Wallet 2.0 comes with the following:
- 3 x Tangem Wallet 2.0 hardware wallets
- 1 x Quick setup guide
Additional items needed:
- A mobile device (to access the Tangem App)
- A pen/pencil (to write down your recovery words)
Once you've checked that you have all the correct items and you are in a safe, trusted space, you're ready to get started.
2) Installing the Tangem Wallet App
To set up your Tangem Wallet 2.0, you'll need to install the Tangem Wallet app on your smartphone, by following these steps:
- Visit your smartphone's app store (Google Play Store for Android or Apple App Store for iOS).
- Search for "Tangem Wallet" and select the official app.
- Download and install the app on your smartphone.
- Grant the necessary permissions when prompted.
3) Device setup
With the application installed, you're ready to begin setting up your wallet. To start with you'll need to select one of your cards to be your "main" card, this has no significance other than it being the first card you use to complete the setup - all of the cards within your 3 (or 2) card set are functionally the same.
Open the Tangem application and click the "Scan card" button, this will prompt you to scan the first of your cards via NFC by holding the card against the upper-back of the phone. Ensure that you hold the card steady in that position until the process has completed on the application.

4) Private key generation
The Tangem Wallet 2.0 allows you to use one of two different methods for generating your private keys (the key to your digital assets); generating the keys privately on the device or using a 12-word seed phrase.

The first of these options is perfect for the Crypto newbie, someone who doesn't want the hassle (or stress) of managing their own seed phrase. It allows Tangem to securely generate the private keys within the card itself without exposing it outside of the card. The downside to this being that your additional cards are your only means of recovering access to your funds, as you have no seed phrase this can't be imported to another device either.
In our case, as we're comfortable with managing our seed phrase and the best practices surrounding this we're going to opt for the seed phrase option. The process for this is as follows:
On the key generation page of the Tangem App, click "Other options" and then "Generate seed phrase". This will generate a unique 12-word combination which is used by the device to generate your private keys. You'll then need to make a note of these words in the order that they appear on your screen.
As a quick solution, you can write the words down on a piece of paper. Take extra care to ensure that the words are written down in the correct order.
Tip: Once you have completed the setup process, we highly recommend making a more robust backup for your seed phrase. You can view a range of different solutions for this here.
On the following screen, you will then need to repeat three random words from the seed phrase as specified on the screen to check that you've made an accurate note of these words.
You will then be prompted to scan your "main" card with your phone to generate the new private keys.
5) Creating backups
Once your main card has been setup (the first card you chose to setup) you'll be able to create backups of this card which can be used interchangeably to access and manage your digital assets.
To start the backup process of adding up to two cards you'll be prompted to scan each of your remaining cards against your phone to create the backups. Once done, click "Finalize backup" to complete the backup process.
6) Pin protection
Next, you'll need to create an access code (pin code) to protect all your wallets on your mobile device, this can later by individualised per wallet. Once you've set the code you'll then need to repeat the process of scanning each card against your phone.
Following this, you'll then be able to enable Touch ID on the application for additional peace of mind.
7) Adding new coins to the wallet
By default, the Tangem App will have Bitcoin and Ethereum pre-installed. To add new coins to your device, you'll need to click on "Manage tokens". This will take you to a new page where you can search for the required coins you'd like to add.
For example, to add USDT we'll search for USDT in the coin list and select "USDT" this will then open the network options, in this case we'll select the "Ethereum" network and then "Save changes".

This coin will then display in our token list.
8) Transaction testing
Transaction testing is the final step of the setup guide, familiarising yourself with the process of sending and receiving Cryptocurrency will ensure that you can seamlessly transact whenever you need to, without needing to refer back to this guide each time.
Before we begin it's important to remember that neither your Tangem Wallet nor your Tangem App holds any Cryptocurrency. The Tangem Wallet holds the private keys (proof of ownership) in an offline environment, and the Tangem App enables you to interact safely with the blockchain world, without exposing your private keys.
Receiving cryptocurrency:
- Open the Tangem app.
- Select the Cryptocurrency you want to receive.
- Within the selected token page, you'll see a QR code and receiving address which can be used to send the specific token to your wallet.
- Send your chosen cryptocurrency to that address or scan the QR code displayed.
Sending cryptocurrency:
- Open the Tangem app.
- Select the Cryptocurrency you want to send.
- Tap the "Send" button.
- Paste the address you are sending cryptocurrency to or scan the recipient's QR code.
- Enter the amount you are sending.
- Press "Send".
- You'll then need to use your Tangem Wallet to sign the transaction. To do this hold your Tangem Wallet card against the upper-back of your mobile device until the transaction signing process is complete.
- The transaction will then be complete.
There you have it, just about everything you need to know to begin using your Tangem Wallet 2.0 safely and securely.
If you have any concerns or issues during the setup process, please do reach out to us via our live chat, contact form or leave a comment below and we'll more than happily answer any questions you may have.
Useful Resources:
https://cryptonest.co.uk/products/tangem-wallet-2-3-card-set