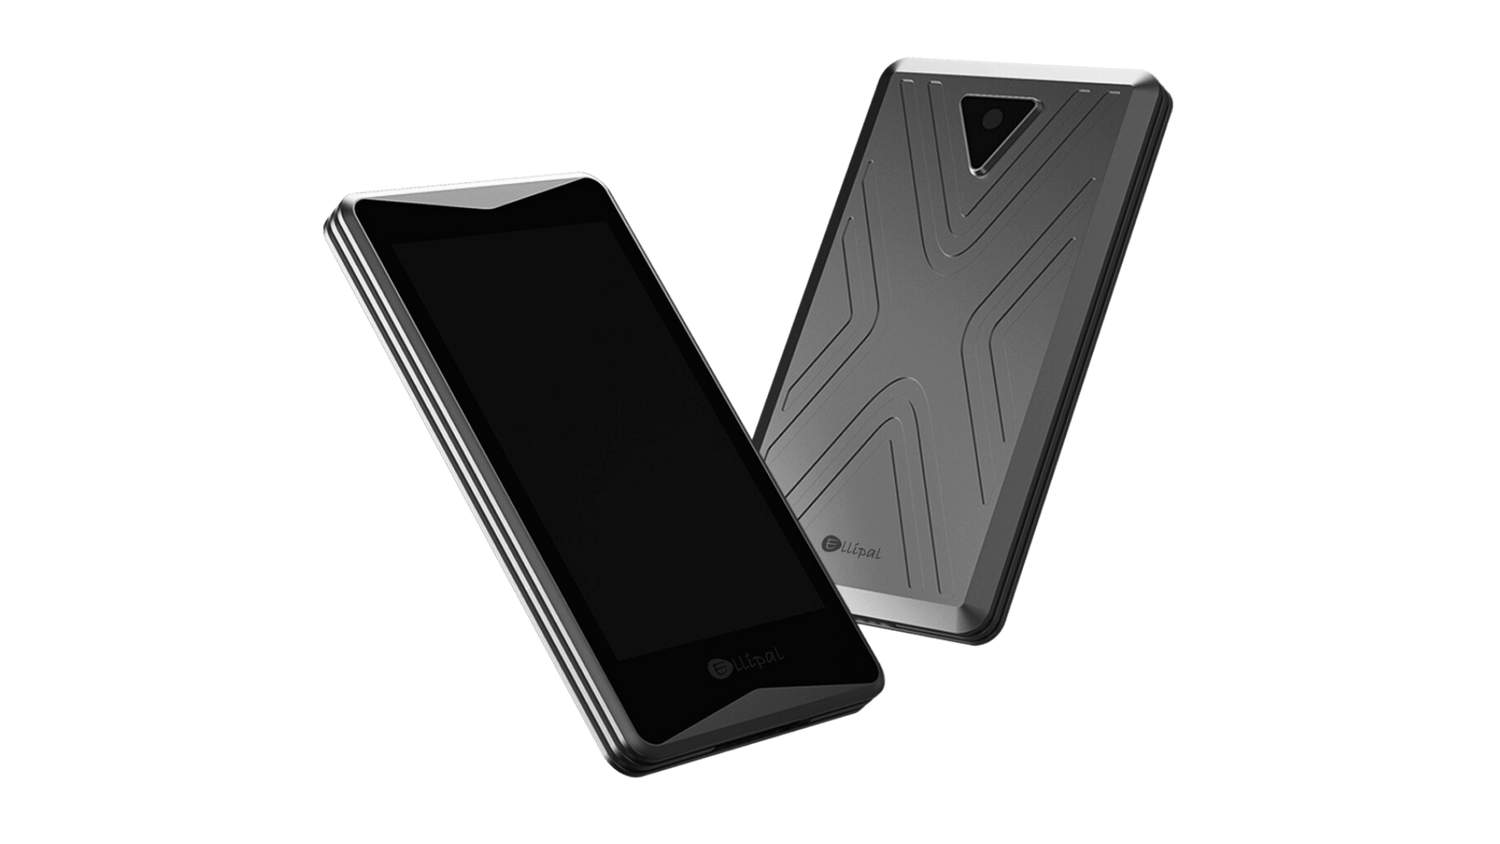
In this setup guide for the Ellipal Titan, we'll cover all the steps needed to help you safely set up and use your Ellipal Titan cryptocurrency hardware wallet.
Setup time: 10-20 Minutes (Depending on firmware version).
Setup difficulty: Beginner friendly.
Overview:
- Initial pre-setup checks
- Account creation
- Seed phrase backup
- Customisation
- Updating firmware
- Transaction testing
1) Initial pre-setup checks
The last thing you want is to begin setting up your device, just to realise that you're missing something needed for the setup process. So, make sure you have all the right tools before you start.
The Ellipal Titan comes with the following:

Additional items needed:
- A mobile device (to access the Ellipal App)
- A pen/pencil (to write down your recovery words)
Once you've checked that you have all the correct items and you are in a safe, trusted space, you're ready to get started.
2) Account creation
When you first turn on your Ellipal Titan you will be prompted to select a language and then download the Ellipal App, which is needed to send and receive cryptocurrency.
You will then be given the following options:
- Create account
- Recover via mnemonics
- Import account
For this guide, we will be creating a new account.
This step is fairly self-explanatory, you simply need to enter a name for your new account and add a strong password.
There is an option to add a passphrase for additional security at this stage, however, this is not essential.
3) Seed phrase backup
The next step is hugely important, as this is where you will be prompted to make a note of your mnemonic words. Remember, these mnemonic words are the key to recovering your assets if your hardware wallet is lost, stolen or damaged - anyone with access to this can access your funds.
As a quick solution, you can use the mnemonic phrase paper, included with your Ellipal Titan, in order to write down your seed phrase. Take extra care to ensure that the words are written down in the correct order.
Tip: Once you have completed the setup process, we highly recommend making a more robust backup for your seed phrase. You can view a range of different solutions for this here.
On the following screen, you will then need to repeat the seed phrase in the correct order displayed on the device.
4) Customisation
The next setup stage requires you to choose the coins you wish to store on your Ellipal Titan.
Please note, that all coins will display by default, you will need to go through and deselect the coins you do not wish to have stored.
5) Updating firmware
The first thing you'll want to do here is to check the version of software your Ellipal Titan is currently running. This varies from one device to another, but please bear in mind that you'll need the latest software in order to benefit from the addition of new coins added by the Ellipal team.
To check the firmware version on your Ellipal Titan:
- Go to settings
- Select "About"
- The current version will be displayed on the screen.
So for us, we can see that our Titan is running version 2.3.2. We can now check the Ellipal website to see what the latest version is. A link to the update section of the site can be found here.

As you can see, the latest version update is 3.3.5 - meaning we will need to perform an update.
To perform the update, simply follow these steps:
- Using the provided SD card (or using your own) re-format the card to the FAT32 format.
- Download the update file, and save it to the SD card. Make sure you don't unzip the file or re-name it.
- Turn off the Ellipal Titan.
- Plug in the SD card to the adapter (the slot can be found on the top left of the adapter). Note: The SD card should click into the adapter and remain flush with the top of the housing. If this does not work the first time, then you may need to push the SD card down using your nail or a pen. Of course, try not to damage the SD card or adapter housing in the process.
- Plug the USB cable into the adapter (make sure the USB cable is connected to a power source).
- With steps 4 and 5 complete, you can now connect the Ellipal Titan to the adapter whilst it is turned off.
- Wait for the Ellipal Titan to show that it is charging and then turn it on.
- With the Ellipal Titan turned on, go to "settings" and select "update".
- The update file will begin extracting automatically, don't disconnect the adapter during this process. This can take up to 20 minutes.
- After the file has been extracted, another menu will appear, select "Start Update".
If you've followed all the steps carefully, then you're Ellipal Titan should now be updating, this should take around 5 minutes to complete. You can then check the version on your Ellipal Titan to confirm that it has been successfully updated.
This is a process you may need to repeat from time to time as and when new updates are made available.
6) Transaction testing
Now, this is the last stage of the setup - familiarising yourself with the process of sending and receiving cryptocurrency using your Ellipal Titan. Getting to grips with the process early on will ensure that you can seamlessly transact whenever you need to, without needing to refer back to this guide every time.
If you haven't already, then you'll need to download the Ellipal app from the Google Play Store or the App Store.
With the application downloaded, select the option to connect a cold wallet. This will open up your camera to read the necessary QR codes.
Head over to the Ellipal Titan and tap the link icon in the top right of the display. This will then run through a sequence of QR codes that reference each coin associated with your account. Scan the QR codes with your phone, and they should then automatically link to your Ellipal app.
With the Ellipal Titan and associated app now linked, you are ready to begin transacting.
It's important to remember that neither your Ellipal Titan nor your Ellipal app holds any cryptocurrency. The Ellipal Titan holds the private keys (proof of ownership) in an offline environment, and the Ellipal app enables you to interact safely with the online world, without exposing your private keys.
Receiving cryptocurrency:
- Open the Ellipal app.
- Select the cryptocurrency you want to receive.
- Tap the "Receive" button.
- Copy the address displayed.
- Send your chosen cryptocurrency to that address or scan the QR code displayed.
Sending cryptocurrency:
- Open the Ellipal app.
- Select the cryptocurrency you want to send.
- Tap the "Send" button.
- Enter the amount you are sending.
- Paste the address you are sending cryptocurrency to or scan the recipient's QR code.
- Set the fee you are willing to pay (higher fees will get your payment processed quicker).
- Submit the transaction.
- You'll then need to use your Ellipal Titan to sign the transaction. To do this go to your Ellipal Titan, tap "Sign" next to the cryptocurrency you're sending and enter your password. You'll then be able to scan the QR code for the un-signed transaction displayed on the Ellipal app.
- This signing process will generate the signed transaction on your Ellipal Titan.
- Finally, scan the signed transaction using the Ellipal app, and submit your payment.
There you have it, just about everything you need to know to begin using your Ellipal Titan safely and securely.
If you have any concerns or issues during the setup process, please do reach out to us via our live chat, or contact form or leave a comment below and we'll more than happily answer any questions you may have.
Useful Resources:
Ellipal Titan | Official UK Store - Free Delivery (cryptonest.co.uk)